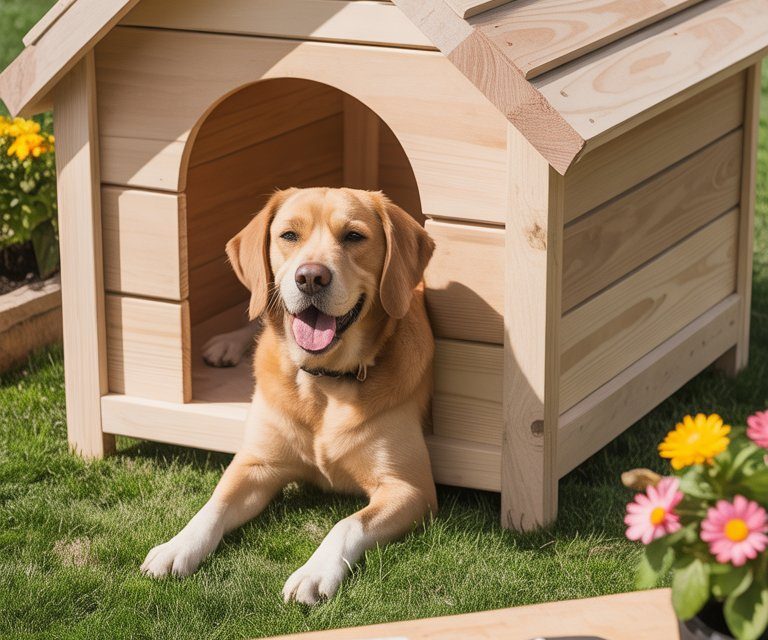
Building a dog house yourself can be a fun and rewarding project. It lets you create a cozy spot for your dog while saving money compared to buying a ready-made one. Whether you have some basic tools or just want a quick weekend task, these DIY dog house ideas suit all skill levels.

You don’t have to spend a lot of time or money to build a comfortable, sturdy dog house your pet will love. Many of these plans use simple materials that are easy to find and work with. This way, you can finish your build quickly and have a great place for your dog to relax outside.
1) Plan a size that fits your dog comfortably
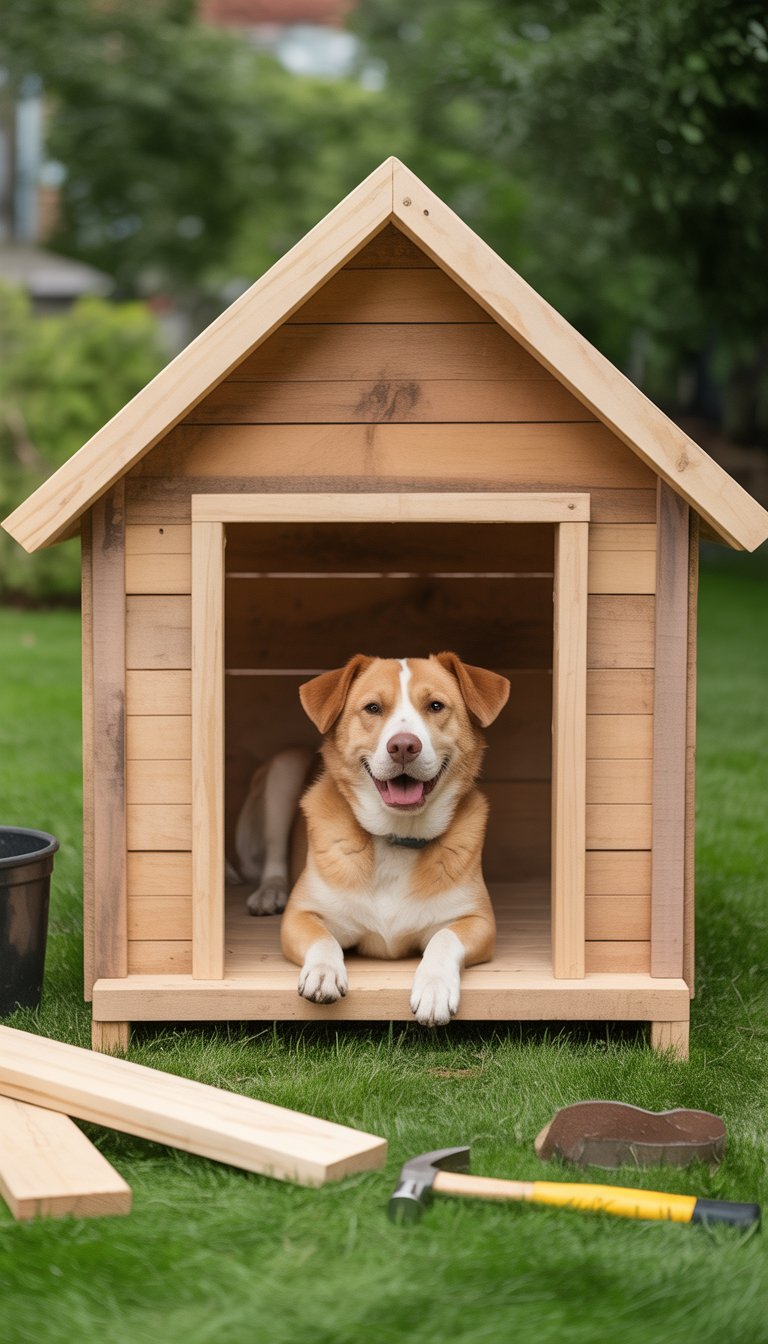
When building a dog house, make sure it’s just right for your dog’s size. The house should be big enough for your dog to stand, turn around, and lie down easily.
A good rule is to add about 9 inches to your dog’s height and 18 inches to their length. This gives your dog enough room without making the house too big or cold.
Measure your dog before you start. You want the dog house to feel cozy, not cramped or too large. This helps keep your dog comfortable in all weather.
2) Use 2×4 and 2×2 lumber for the frame
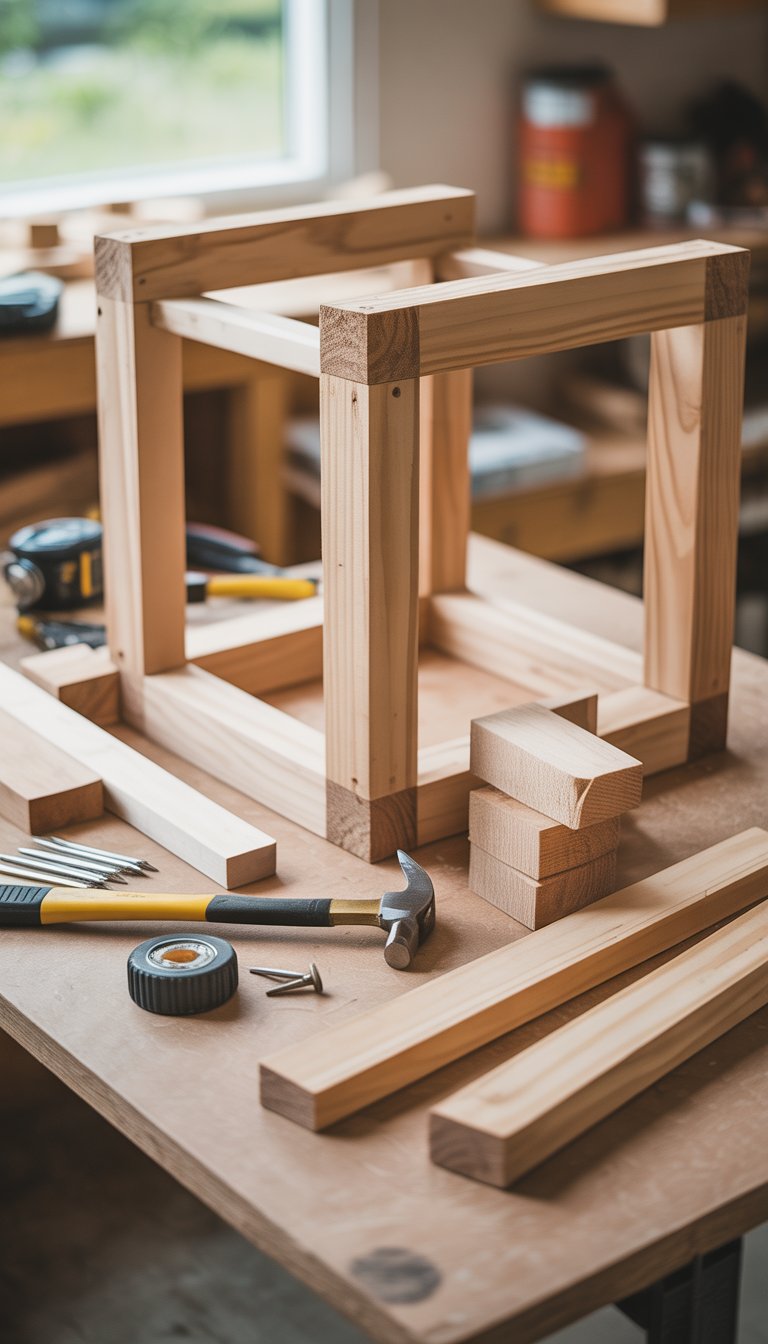
When building your dog house, using 2×4 and 2×2 lumber is a smart choice for the frame. These sizes give you strong support without making the structure too heavy.
Start by cutting four 2×4 pieces for the corners. Then, use 2×2 boards to secure the walls and roof. This combination keeps the dog house sturdy and easy to put together.
Using wood like fir or cedar for your frame not only adds strength but also helps keep bugs away. Plus, this approach makes your build last longer, even if your dog loves to play outside.
3) Build double-thickness walls for warmth
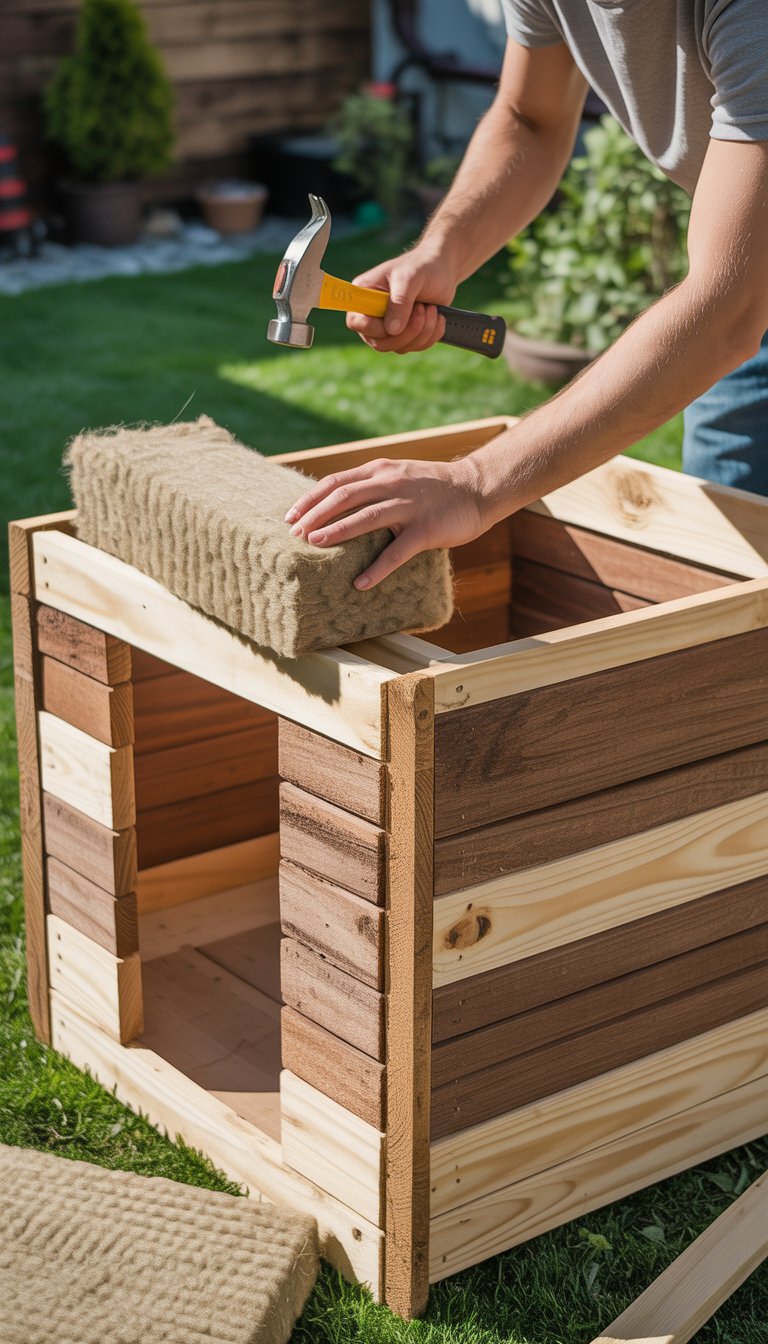
You can keep your dog warm by making the doghouse walls thicker. Use two layers of wood with some space or insulation in between. This traps the heat inside better than single-thickness walls.
Start by building the outer and inner walls separately. Then add some foam or straw between them for extra insulation. This helps block cold air and keeps the inside cozy.
Double-thickness walls are simple but effective. It won’t take much extra time, and your dog will thank you when it’s chilly outside. This small step makes a big difference in comfort.
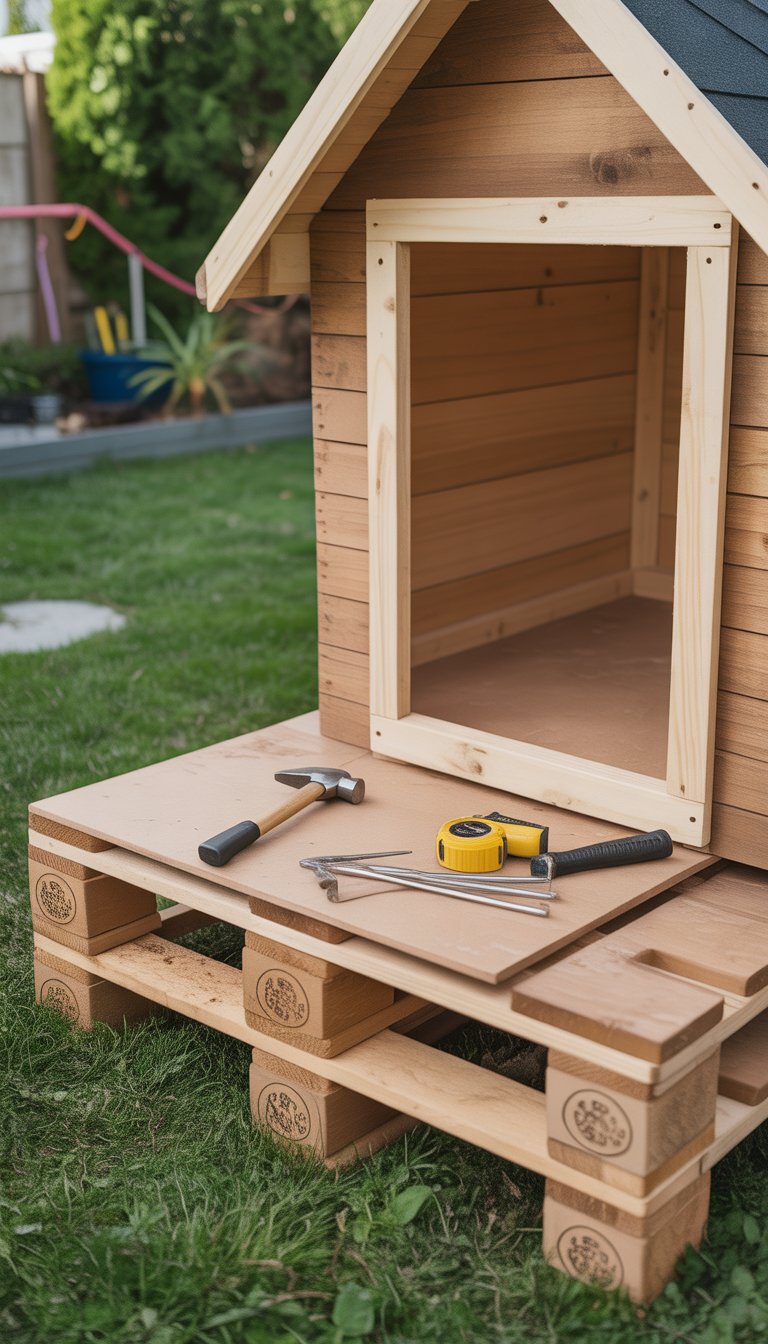
4) Repurpose pallet wood for a budget-friendly structure

Using old pallets is a smart way to build a dog house without spending much money. You can find pallets for free or cheap at many places, making this an easy and low-cost project.
Pallet wood is sturdy and easy to work with. You just need to clean and sand it before building your dog’s new home.
With some basic tools and a little time, you can create a simple but strong shelter. Plus, using recycled wood helps reduce waste, which is good for the environment and your wallet.
5) Create a detachable roof for easy cleaning

You can make your dog house easier to keep clean by building a roof that you can take off. Using hinges on one side and a latch on the other lets you lift the roof when needed. This way, you can quickly reach inside to sweep out dirt or replace bedding.
Choose lightweight materials for the roof so it won’t be hard to lift. Nuts and bolts work well to hold the walls together, making it sturdy but still easy to take apart if needed.
A detachable roof also helps if you want to add insulation or fix any part of the dog house later. It makes caring for your pet’s space much simpler.
6) Add board and batten siding for a simple finish

You can quickly give your dog house a neat look by adding board and batten siding. This method uses vertical boards with narrow strips (battens) covering the seams. It’s easy to install and doesn’t cost much.
Start by nailing wide boards to the side of your dog house. Then, place thin battens over the gaps between the boards. This hides any uneven edges and adds a nice pattern.
Board and batten siding also helps protect the dog house from rain and wind. It’s a smart way to make a sturdy, clean design without a lot of work. You’ll be done in no time!
7) Insulate with foam board or recycled materials

Keep your dog cozy by adding insulation inside the walls of the dog house. Foam board is a great choice because it’s easy to cut and fits snugly between the wooden frames. It helps keep heat in during the cold months and cool air inside when it’s warm.
If you want to save even more, you can use recycled materials like old blankets or foam you already have. Just make sure they are dry and free of any chemicals. Place the insulation between the studs of the dog house walls for the best fit.
Don’t forget to add a barrier like plywood over the insulation to protect it from your dog chewing or getting wet. This helps the insulation last longer and keeps your pup safe.
8) Construct a raised floor to keep moisture out
Raising your dog house floor helps keep your pet dry and comfortable. It stops water from pooling inside during rain or snow.
You can build the floor using wood pallets or sturdy boards. Make sure to leave some space underneath for air to flow and prevent dampness.
Adding insulation between the floor layers can give extra warmth on cold days. This simple step can make a big difference in your dog’s comfort.
A raised floor also makes cleaning easier since dirt won’t get stuck inside. Your dog will thank you for a cozy, dry spot to rest all year round.
9) Include a small front porch or awning
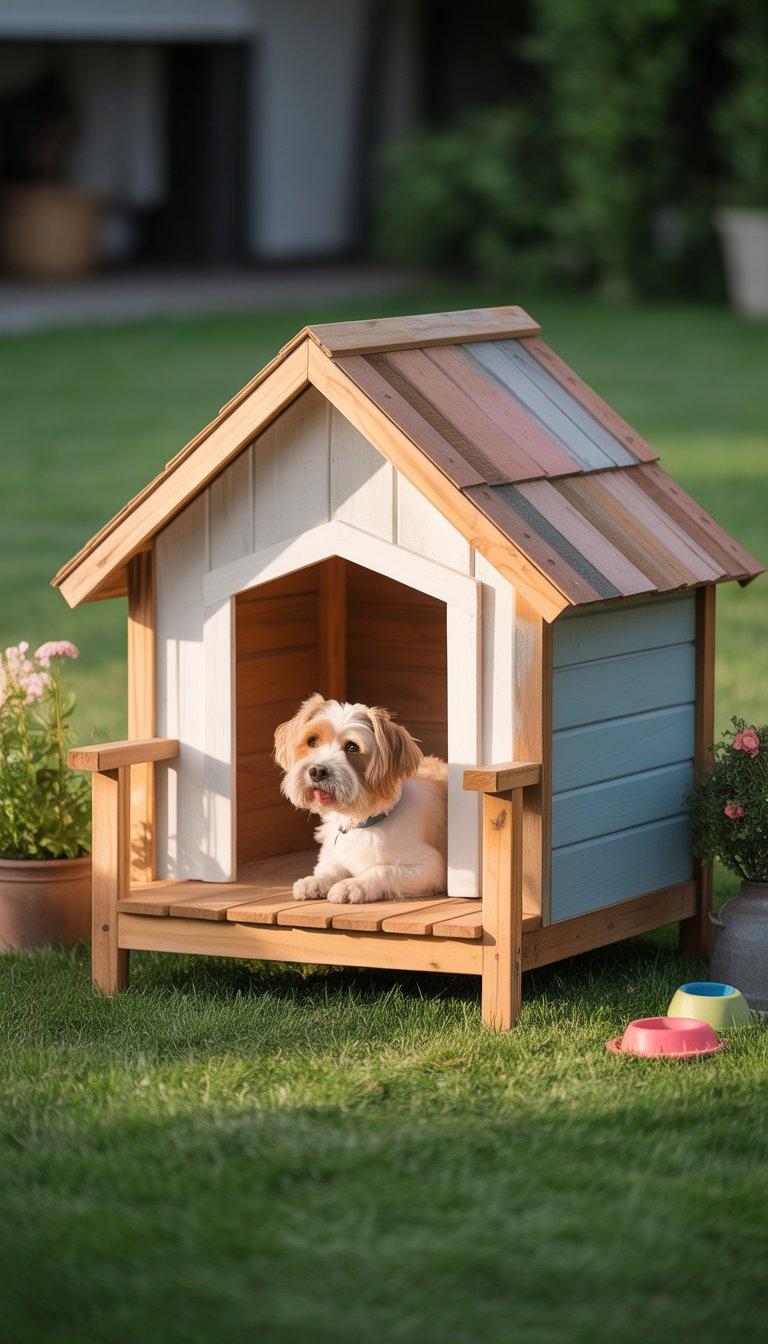
Adding a small front porch or awning makes your dog house more comfortable. It gives your dog a shady spot to relax, especially on sunny days.
A porch also helps keep rain and snow away from the entrance. This keeps the inside dry and cozy.
You can build the porch using simple materials like wood or PVC pipes. It doesn’t take much time and adds extra space for your dog to enjoy the outdoors safely.
Including this feature shows you care about your dog’s comfort and can make the dog house more inviting. It’s an easy upgrade that fits well with most DIY dog house plans.
10) Use scrap wood for custom windows
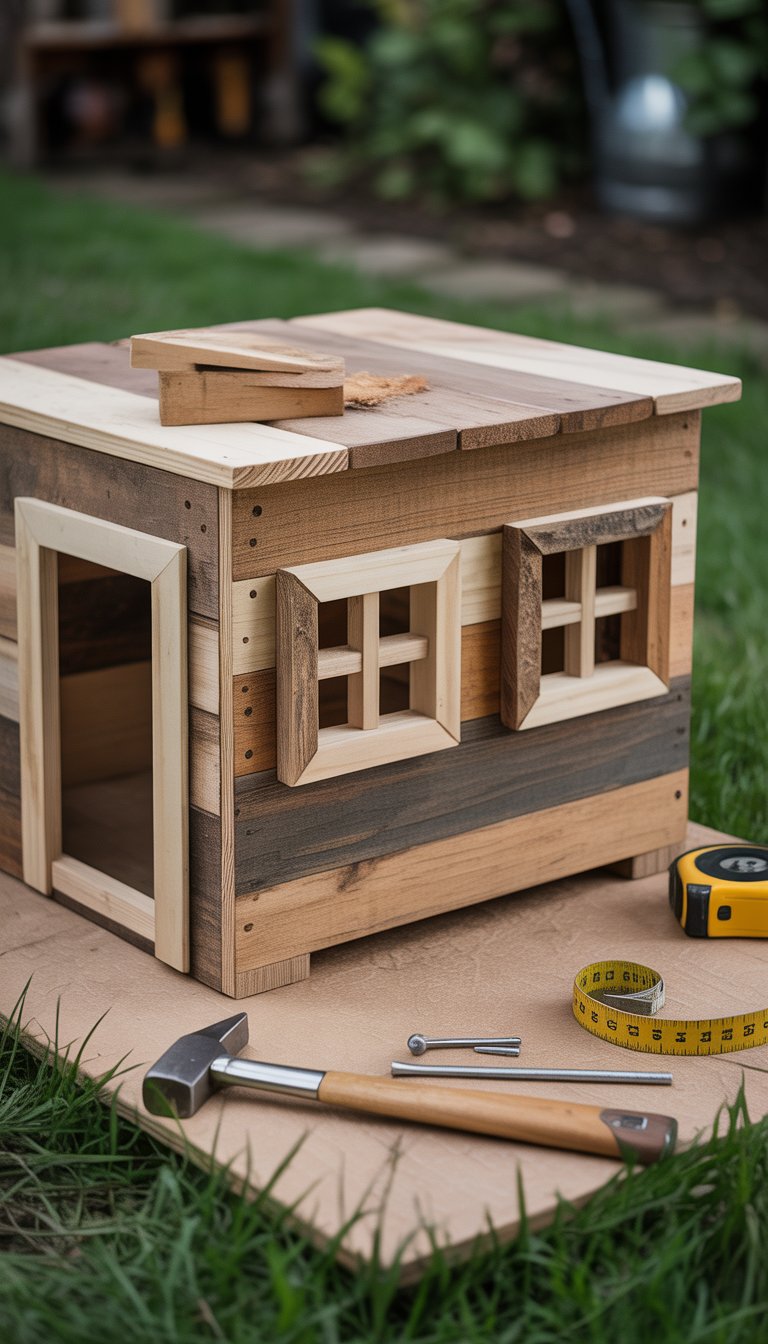
You can make your dog house extra special by adding a custom window using scrap wood. It’s a simple way to let your dog peek outside and add some style to the house.
Start by cutting a small frame from leftover wood pieces. Then, attach it to one side of the dog house. You can even add a clear plastic sheet for protection from wind or rain.
Using scrap wood saves money and helps reduce waste. Plus, it lets you get creative without needing fancy tools or materials. Your dog will love having a cozy spot to watch the world go by!
11) Install a hinged roof or top for access
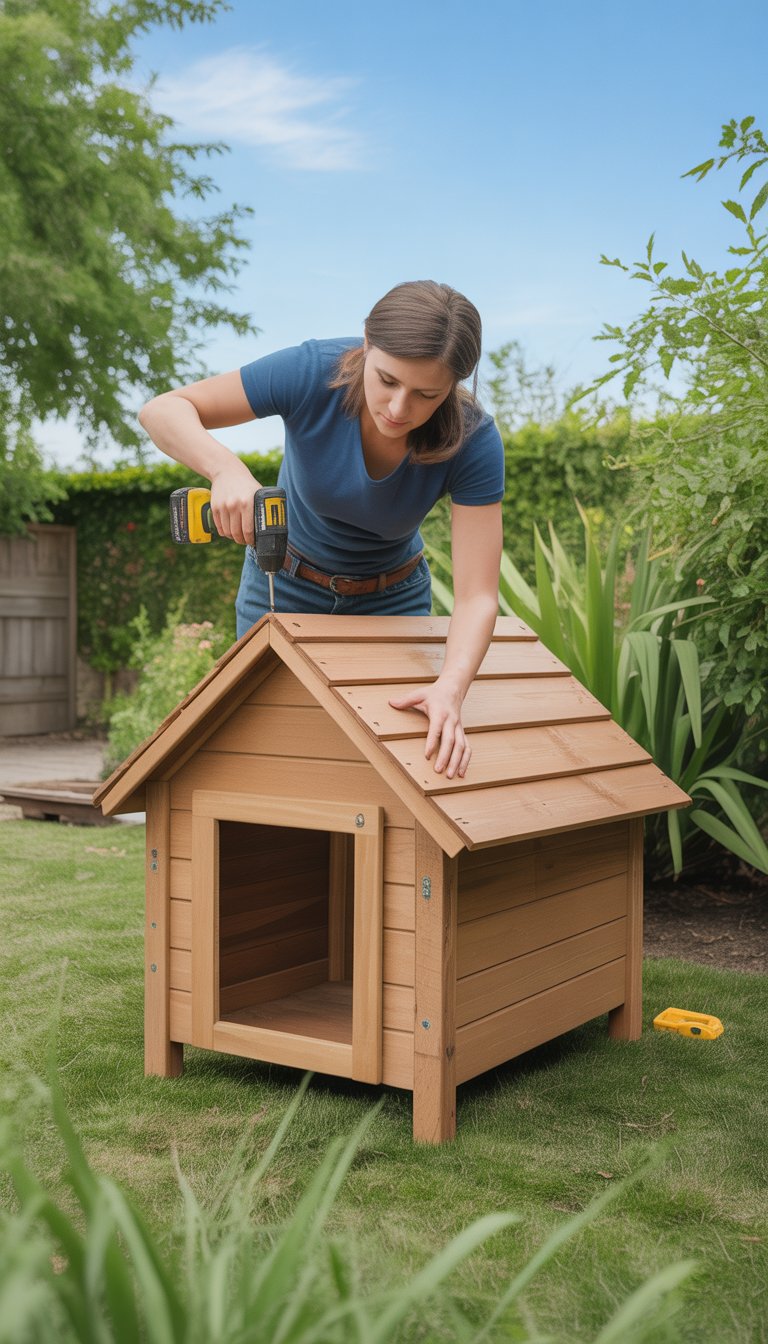
Adding a hinged roof to your dog house makes cleaning and checking on your pet much easier. You can simply lift the roof instead of crawling inside or moving the whole house.
Hinged roofs also help with ventilation. You can prop the roof open on warm days to keep your dog cool. Using scrap wood or old fencing materials can keep this upgrade budget-friendly.
Make sure to attach strong hinges and a latch to keep the roof secure in bad weather. This small change saves you time and effort while keeping your dog comfortable.
12) Paint with pet-safe exterior paint
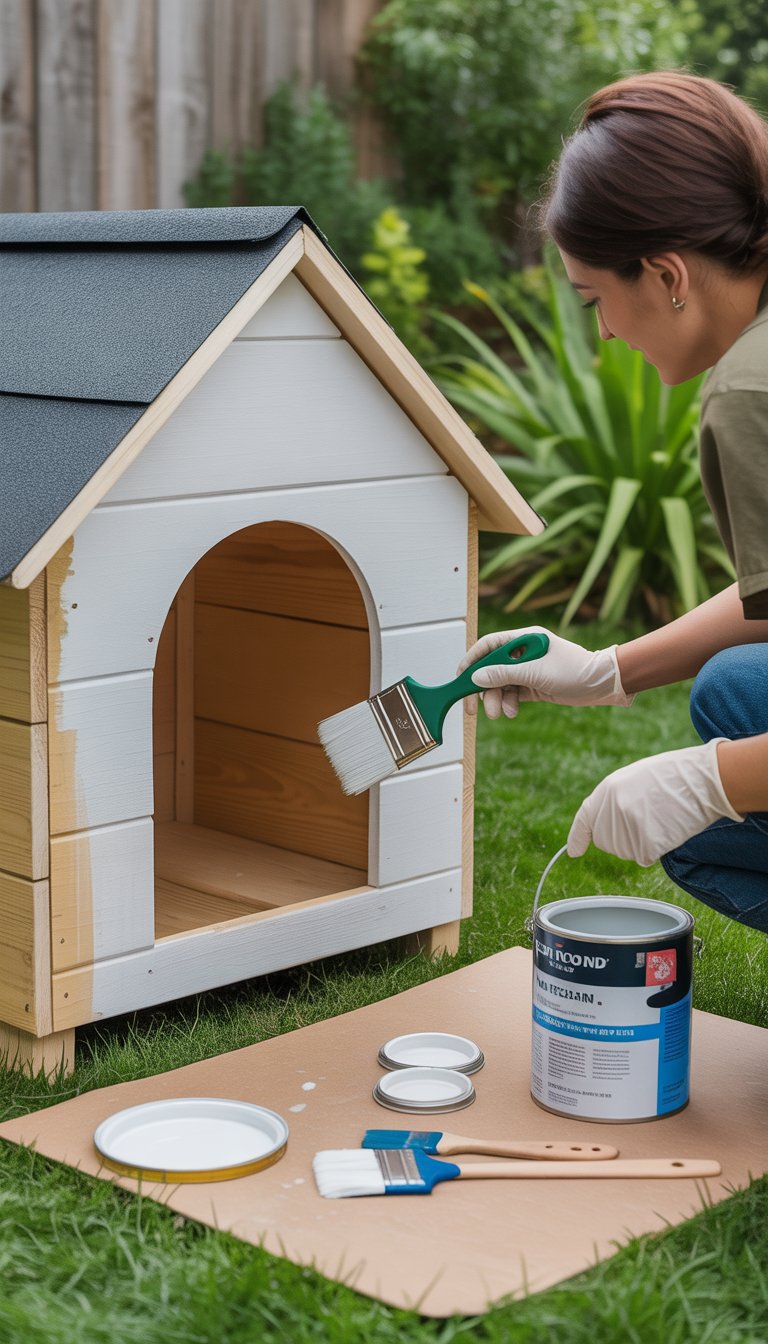
When you finish building your doghouse, painting it is a great idea. Use pet-safe exterior paint to keep your furry friend safe. Acrylic paint is usually water-based and non-toxic, making it a good choice.
Avoid paints with harmful chemicals or bright colors like chromium reds and oranges. These can be toxic to dogs if they lick the surface.
Make sure the paint you choose is weather-resistant. This protects the doghouse from rain and sun, keeping it durable for years. Always let the paint dry fully before letting your dog inside.
13) Add a drawer under the dog bed for toy storage
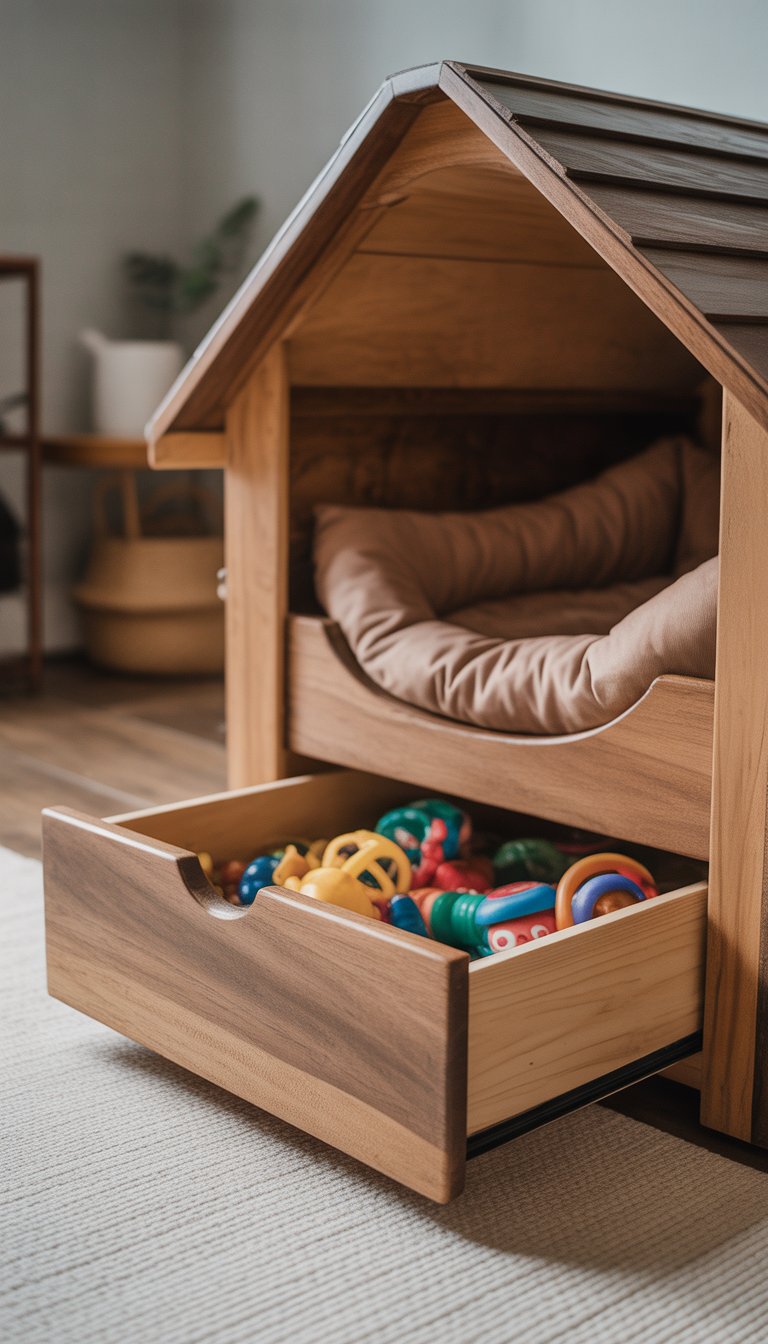
You can easily add a drawer under your dog’s bed to keep toys and supplies organized. It saves space and makes cleanup faster since everything has its spot.
Building the drawer is simple. Use scrap wood or old drawers, and fit them under the bed frame with wheels or sliders to make it easy to pull out.
This extra storage helps keep your room tidy and your dog’s favorite toys close by. Plus, it’s a fun way to customize a basic dog bed without much cost or effort.
14) Build the doghouse in sections for easy transport

You can make your doghouse in parts instead of one big piece. Build the walls, roof, and floor separately. This way, it’s easier to carry and move around.
When you get to where the doghouse will live, just put the pieces together. Use simple fasteners like screws or clips so you can take it apart again if needed.
This method helps if you have a small car or tight space. It also makes repairs easier because you can work on one part at a time.
Building in sections is smart and saves you stress when moving your doghouse. Give it a try, especially if your new doghouse needs to fit into tricky spots!
15) Use weather-resistant screws and nails
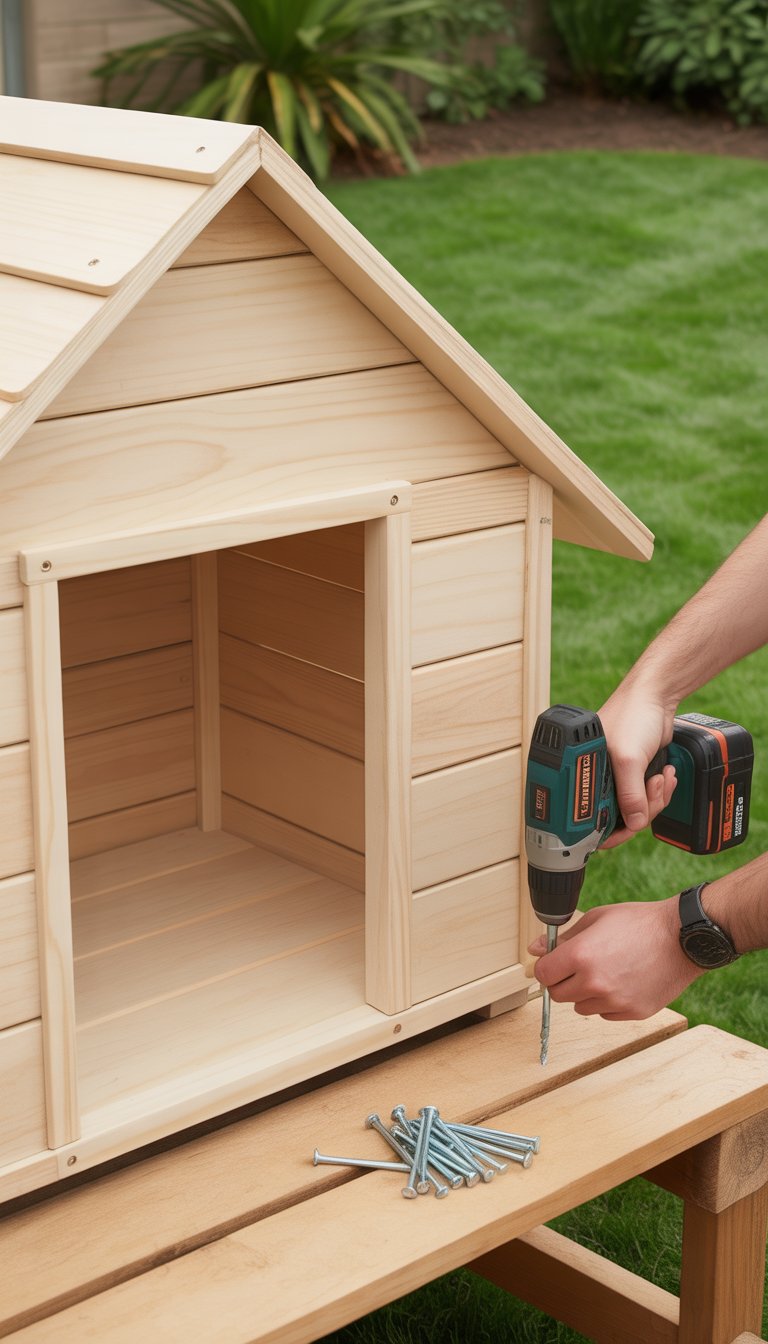
When building your dog house, using weather-resistant screws and nails is important. They help keep the structure strong even in rain or snow.
Regular nails can rust and weaken over time. Weather-resistant fasteners last longer and stop the wood from rotting.
Choose screws and nails made of stainless steel or coated with rust-proof materials. This will keep your dog’s house sturdy and safe through all kinds of weather.
16) Smooth all edges for your dog’s safety

When you build your dog house, sharp edges can hurt your pet. Take time to sand down all the corners and edges until they feel smooth to the touch. This simple step helps prevent cuts and scratches.
Using sandpaper or a sanding block works well. Pay close attention to areas where wood pieces join together. Rough edges might snag your dog’s fur or cause splinters.
Safety is key for a happy dog house. By smoothing every edge, you make the space more comfortable and safe for your pet. This small extra effort is worth it for your dog’s comfort.


